1. Open a new document. Don't worry about the size. Any size will work.
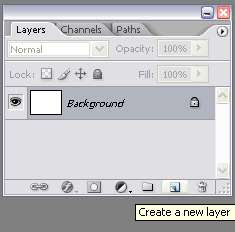
2. Click on the 'Create New Layer' icon below the layer palette to create a new layer.
3. Set the background and foreground colors. I chose #f6e876 (yellow) as my foreground color and #f9b048 (orange) as my background color. These will be the color of my sunburst stripes later.

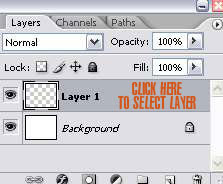
4. Now, with Layer 1 selected on the layer palette, choose the Gradient Tool (G). Make sure you select the Linear Gradient (the first icon on the top left).


5. Start from the bottom of your document, click and drag your mouse vertically until you reach the top of your document. Then, release your mouse.
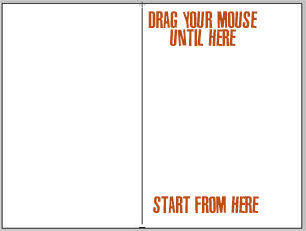
You'll have something like this:
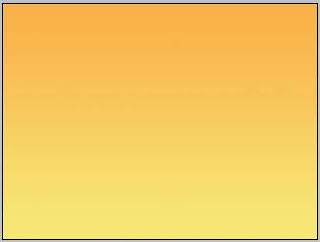
6. Next, go to Filter > Distort > Wave. Apply the settings below:
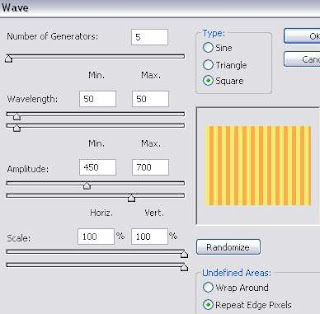
Number of Generators: 5
Wavelength > Min: 50 Max: 50
Amplitude > Min: 450 Max: 700
Scale > Hor: 100% Vert: 100%
Type: Square
Undefined Areas: Repeat Edge Pixels
If you want larger and less stripes, increase the wavelength amount. But make sure the min and max value is the same amount. For small document, you might want to reduce the wavelength setting.
You'll get this:
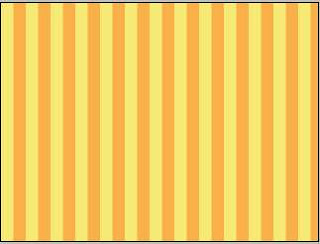
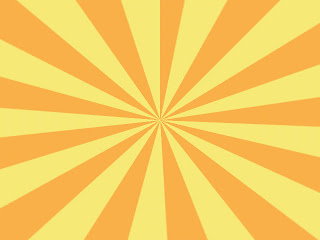
7. Now, go to Filter > Distort > Polar Coordinates. Choose Rectangular to Polar option. And you got yourself a nice Sunburst effect. Or, some people will call it a Rising Sun effect.
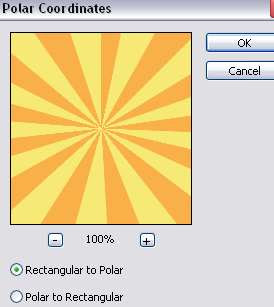
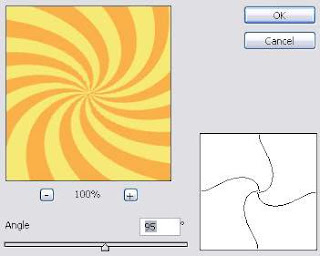
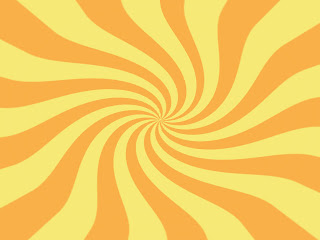
8. Okay, from here..you can also get the swirling candy effect or what ever you call it. Just go to Filter > Distort > Twirl. Then, select the amount of twirl you want.
15 comments:
Amazing! Thank you!
Great, simple, to thepoint tutorial. Many thanks.
Thanks so much. Excellent tutorial.
Great tutorial easy to follow steps that work as you go along and a simple way to get both stripes and the sun burst or rising star effect.
Thank you, dude! I knew how to do it, but didn't know HOW to do it, know what I'm saying? Anyways, this is how a tutorial shoul be. And I almost NEVER use tutorials. They never helped me. But THIS!... THIS is the BEST HELP I COULD GET!If you have a Youtube account and agree with me, please subscribe to ToasterVille. Don't feel like you have to, and I am NOT using this comment for advertisment on the account. Again, thanks for the awesome help.
Um... yeah.
[Insert Name Here]
Really useful man thanks.
very simple and useful tutorial.
Thanks a ton!
Wonderful and very helpful tutorial! Thanks a lot.
Thank you this is great!!
Thanks for posting this! I must be doing something wrong. When I go to click fliter, the distort option is grey and not available. :(.. what to do.. what to do?
Hi there, make sure you select the right layer in your layer palette. You don't by any chance have your Background layer/locked layer selected, are you?
Thanks so much for sharing this wonderful tutorial! I just made 8 papers using it and it was so easy to do. I'm wondering if you could post a tutorial explaining how to make a sunburst template so you could use different papers to make your sunburst. I would love that!
Great tutorial - thanks!
To answer the question above, make sure your image is in 8-bit mode to see the distort filter.
Awesome! Thanks for making it so easy, have tried to follow other techniques and they are far too tricky.
Thanks a lot, but how do you remove the center???
Post a Comment