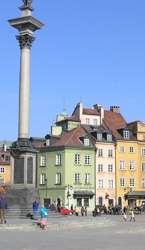
Photo CrossProcessing with Curves

You probably have seen a couple of posts in this blog related to Cross-processed photo. I just love the different coloring styles you can get from your digital photo just by tweaking the Curves in Photoshop. It's an excellent method to imitate the cross-processing effect in film photography. So, today I tried playing around with Photoshop and discovered these 3 neat coloring styles. You can download the Action set and maybe do a little Curve tweaking yourself. Tip: To control the intensity of each curve effect on your image, try lowering or increasing the opacity of the Curve adjustment layer.

Download Action: Photo Coloring with Curves

How To Use: Guidelines To Use Our Photo Effect Action


Cross-Process Effect 1 Sample Images


Cross-Process Effect 2 Sample Images


Cross-Process Effect 3 Sample Images


Cross Processing with Curves Action Set

One way to enhance the coloring of your digital photo is using the Curve adjustment layer in Photoshop. It's a powerful tool that enable you to get different styles and coloring from a single photo. Don't worry if you're not that familiar with Curve. Download this action and run it in Photoshop to get the coloring shown in our preview below. Some tips for you: If your image is dark, duplicate that image and set the layer to Screen, adjust the opacity to your liking. You can also adjust the opacity of the curve layer after you're done running the action. This will adjust the intensity of the coloring effect.

Download Action: Cross Processing Curves Action Set

How To Use: Guidelines To Use Our Photo Effect Action


Curve 1 Action - Reddish Hue Cross Processing


Curve 2 Action - Yellowish Hue Cross Processing