Some people are just too crazy about apple products nowadays. Well, if you're gonna be that crazy, then you might as well get the right protection for your precious and latest iPhone right? There are times when regular cases won't cut it anymore. Each one of us is unique, therefore our cases should be too. But don't worry too much about that because here's where customized iPhone 5 case comes into play. Below are some of the designs I created and on sale in my zazzle shop. You can also create your own design..as simple as that.
I have more that 400 designs consist of floral pattern, stripes, chevron, modern geometry, cute cartoon and so much more. Below are just 20 of them that I really like. You can check out the rest here. Click on the preview image to view more details about the product.
..
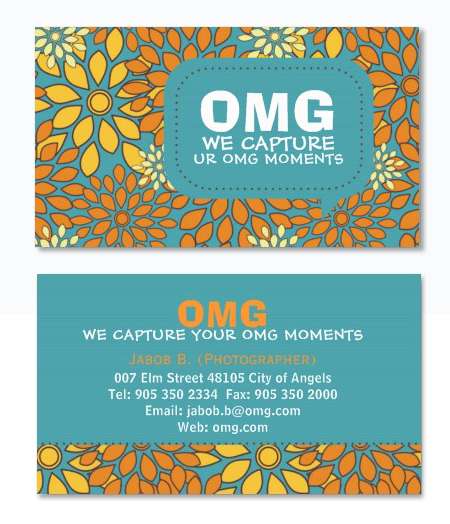
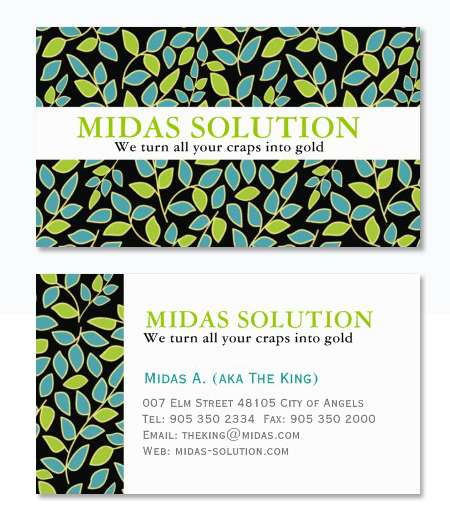
Are you starting a small business and looking for a unique and colorful business card design? Or you just simply looking for some inspiration to design your own? Whatever it is, I hope you'll enjoy this post. Here is a collection of business card design that I have in my zazzle store. If you haven't heard of zazzle, it's time to check it out now. I love to play with different color combos and patterns. This should grab the attention of your customers more than a monotone business card. Plus, it's double sided. If you would like to purchase any of this design for your business, just click on the preview image. It will take you to the product details page. You can customize the wordings, font (if you want), pick the paper type and zazzle will print and ship it to you at a reasonable price.


 READ MORE...


