



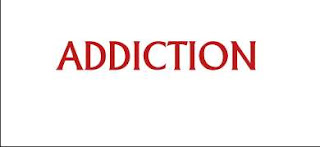
1. Open a new document. Select the Text Tool (T). Select your font, the size and color. All these options are usually located below your main menu tab.
2. The font I chose was Alberta. Uppercase letters look better for this effect but there's no rule saying you can't use lowercase ;)
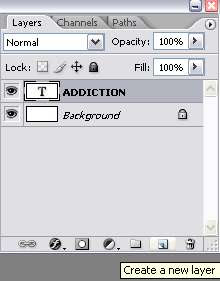
3. Now, duplicate the text layer by dragging that layer to the Create New Layer icon at the bottom of the layer palette. Now, let's call the first text layer, Addiction and the second one Addiction copy. See picture below:
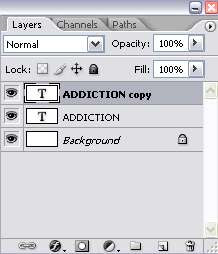
4. With the Addiction copy layer selected on the layer palette, go to Edit > Transform > Flip Vertical. You'll have this:

5. Select the Move Tool (V) and move the Addiction Copy layer below the Addiction layer as shown below:

6. Now, select the Text Tool (T) and change the text color for the Addiction copy layer to gray.


7. Click on the Add Layer Mask icon at the bottom of the layer palette. Then choose the Gradient Tool (G). Make sure your foreground color is set to black and your background color is white.
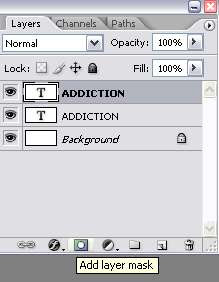
8. Drag your mouse starting from the bottom part of the Addiction copy layer till the top part of the Addiction layer. See picture below:

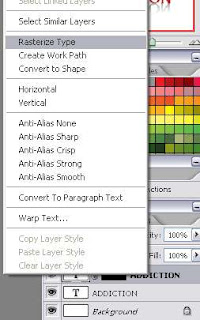
9. Right click on the Addiction copy layer in the layer palette and select Rasterize Type.
10. With the Addiction copy layer selected, go to Edit > Transform > Skew. Adjust the skewness until you find the effect you want. Here's a few effects you can try:


And of course, you can adjust the skewness of the Addiction layer too to get this effect.


No comments:
Post a Comment