1. First, open the images you want to blend. I have two images here, one of Lois and one of Clark. Then, open a new document. Select the Move Tool (V) and drag both images to that blank document. Re-size the image if needed. I re-sized them both to 40%.
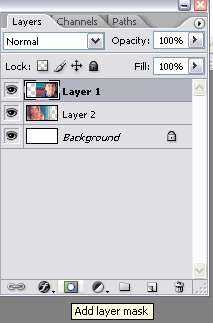
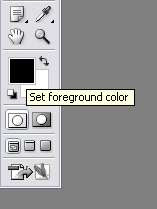
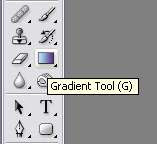
2. Working with the Clark image (have your Clark image selected on the layer palette), click the Add Layer Mask icon at the bottom of the layer palette. Make sure the foreground color is set to black and the background color is white. Then, select the Gradient Tool (G).


4. Click at the left edge of Clark image and drag until you reach the middle of his mouth, then release the mouse.
You'll get this:
Now, if you're satisfied with the result, you can stop here. Sometimes, for some situation, you can still see the edge of the image below it. Now, to eliminate this edge, we can go on with the tutorial.
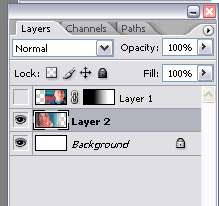
5. Set the Clark image to invisible. You can do this by clicking the eye icon beside Clark image on the layer palette. We're gonna work with Lois image now. Select Lois image on the layer palette.

6. Repeat step 3, select Layer Mask icon, set foreground color to black, background color to white and choose the Gradient Tool (G).
7. Start from the right edge of Lois image, drag your mouse until the middle of her coffee mug, then release your mouse. You'll have this:
8. Set the Clark image layer back to visible and you have the final result. Easy right? Well, that's one technique you can use to blend images together in Photoshop.


No comments:
Post a Comment