Halftone Pattern Effect
1. Like any other tutorials, we begin by opening the image we want to use in Photoshop. It's important to choose an image with all white background. If you don't have one, delete the colorful and distracting background out of the way, then emerge your image to a white layer.
You can remove the background using Pen tool or extract filter.
Remove background with Pen Tool
Remove Background with Extract Filter
2. Duplicate the image twice. If you don't know how to do this, just google 'How to duplicate layer in Photoshop'. I'm sure there'll be plenty of answer.
3. Here's your layer palette now.
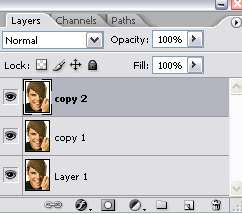
Layer 1 --> leave it alone, in case you accidentally make any mistake later, you'll still have the original image. We'll work with 'copy 1' and 'copy 2'.
4. In your layer palette, click once on 'copy 2' layer to select it. Then, go to Image > Adjustment > Desaturate.
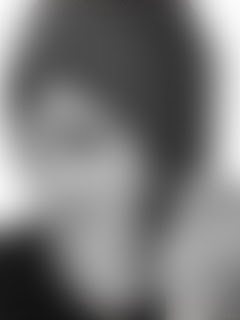
5. Still working with 'copy 2' layer, go to Filter > Blur > Gaussian Blur. A small Gaussian Blur window will appear, set the radius to 25. And here's what you have now.
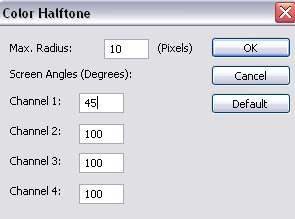
6. Next, go to Filter > Pixellate > Color Halftone. Use the following settings:
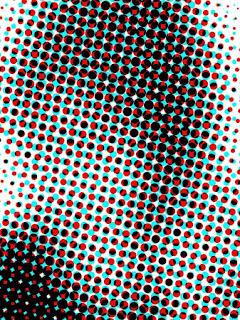
7. Then, go to Layer > New Fill Layer > Gradient. Choose the color gradient you want. I choose the one below..
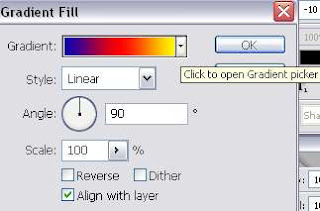
8. Set the Gadient Fill 1 layer mode to Screen.
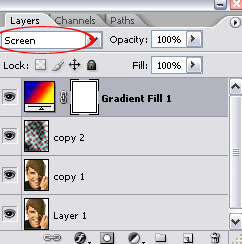
9. Move the 'copy 1' layer above 'copy 2' layer.
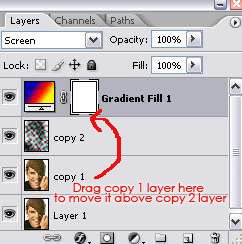
Here's your layer palette now.
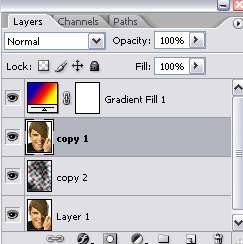
10. So, where's those halftone dots now? Well, of course it's hidden underneath the 'copy 1' layer. To make it visible, I'm gonna delete/erase the background of our image. Since my background is all white, a simple way to erase it is to use the Magic Wand Tool. Select this tool from your toolbox or just click W. Then, just click on the white background area on your image to make a selection. And hit the delete key to get rid of the background.Do this several times until you've erase all the white areas.
11. To make the halftone effect more dramatic, I will reduce the size of the image (copy 1 layer) to 90%. The drag and position it slightly above and to the right of the document.
12. And crop out the area you don't want. Here's the final result:


7 comments:
I absolutely love this tut! It's easy and the outcome is really cool.
Nice work!
=]
I am new to Photoshop. This was really easy and it came out great! Thanks so much!
thanks lotss!!!!!
this is very cool!!
and easy to follow for abeginner for me.
thanks lots!!
alright im a little confused, i did everything right im pretty sure and the dots are there and everything but the like.. rainbow strip gradient is still showing up? how do i make that go away so that it just shows up as the colorful dots
How will i resize the photo to 90% and drag photo please help me with this
Hi Lee,
Here's how you can resize the image..
select the image layer, click CTRL+T on your keyboard to choose the transform command. On top of your canvas, (slightly below the main menu) you'll see boxes for size percentage. Enter 90% for width and height of the image. Then click ENTER to apply. TO drag/move the image, choose the Move Tool on your Toolbox, then just hold your mouse on the image and drag it to move.
Thanks for the tutorial, it is clear and simple but Something is wrong with me (or CS5):
When I use the half tone effect, it applies just on the image and not on the white background (there are no dots in the background, just on the image). So then everything is useless.
What do you think it is ?I'm convinced it's a clik somewhere...
Bye
Guillaume
Post a Comment