Before we start, here's a few tips. I recommend using a high resolution photo for this effect. Then, after the final step, scale it down so the image will look smoother and prettier.
1. Open your image. Duplicate it. With the duplicate image selected in the layer palette, go to Image > Adjustment > Desaturate.
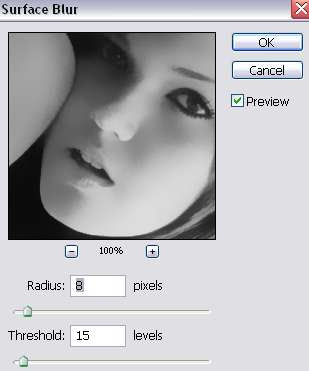
2. Still working with the duplicate image, go to Filter > Blur > Surface Blur. Adjust the settings until the surface of your image is pretty smooth.

3. Now duplicate that layer twice. I rename the three layers to image 1, image 2 and image 3. So that, it would be easier to identify them for the purpose of this tutorial. Here's what your layer palette should look like:

4. Now, turn off image 3 by clicking on the eye icon beside it in the layer palette. Have image 2 selected in the layer palette. Go to Filter > Artistic > Poster Edges. Adjust the setting until you get something similar to the image below. We don't want the edges to be too thick and make sure the skin is smooth. After you've found the perfect settings, click OK.
This is my setting:

5. Then, in the layer palette, set the image 2 layer to Linear Dogde.
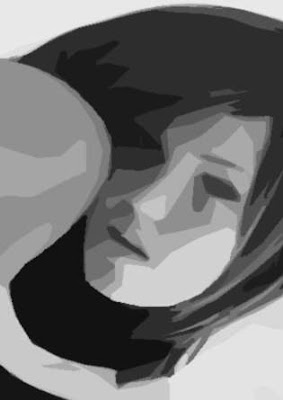
6. Next, turn on the image 3 layer ie make it visible by clicking the empty box beside it in the layer palette. Have this layer selected. Then, go to Filter > Artistic > Cutout. Play with the settings until you get something like this:

This is my setting:

7. Set image 3 layer to Multiply. Reduce the opacity to 25% or until you get something similar to the picture below:

And that concludes our final step for effect no. 1, a nice black and white watercolor painting effect. To get effect no. 2, go on with the rest of the tutorial.
8. Now, flatten all your layers by hitting CTRL+SHIFT+E. Duplicate the flattened layer once. Now, working with the duplicate layer, go to Filter > Brush Strokes > Dark Strokes. Play with the settings until you get something you like. This is the setting I use to get the final image:


No comments:
Post a Comment