
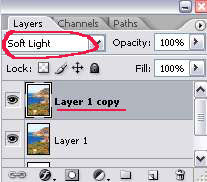
1. Open your image in Photoshop. Duplicate it and set the duplicate layer to Overlay or Soft Light, whichever works for your photo. We do this to enhance the color of our image.
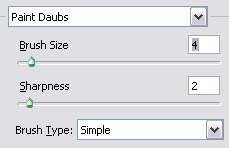
2. Merge the image layers by clicking CTRL+E. Then, go to Filter > Artistic > Paint Daubs. Apply these settings or something close to get the effect shown below.
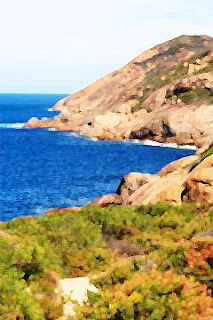
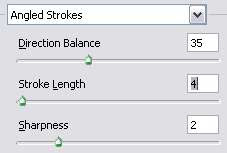
3. Next, go to Filter > Brush Strokes > Angled Strokes. Apply these settings or something close to get the effect shown below.

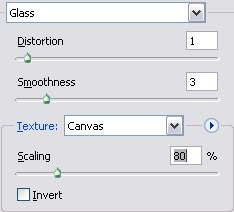
4. Now, go to Filter > Distort > Glass. Apply these settings or something close to get the effect shown below.
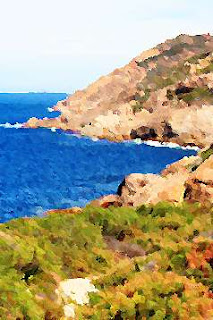
5. Duplicate the layer. Desaturate the duplicate layer (Image > Adjustment > Desaturate).
6. With the desaturate layer selected on the layer palette, go to Filter > Stylize > Emboss. Apply the setting below:
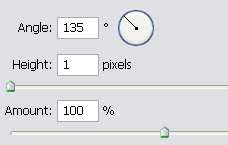
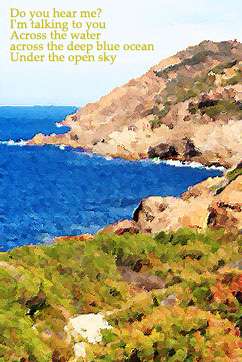
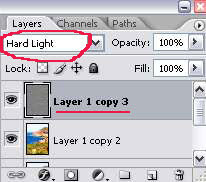
7. Finally, set that layer to Hard Light or Vivid Light, depending on your image and the outcome you prefer. And you got a painting =)


3 comments:
Thanks for the cool tutorial.
Check out my Pin-Up version
http://photoshop-pinups.blogspot.com/2009/01/diora-baird-canvas-tutorial.html
Your blog is awesome! Just love every tutorial and round up! Keep up the good work :) Subscribed by email =)
Contact me I might have something that will interest you. management@beoarte.com
www.beoarte.com
Post a Comment