
1. Open your image in Photoshop.
2. Duplicate the image.
3. Click on the new duplicate image in your layer palette to make sure you will be applying this effect on this layer.
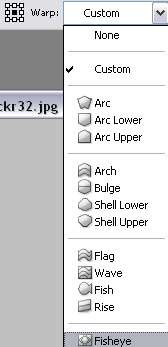
4. Go to Edit > Transform > Warp. At the top of the menu, you'll see a drop down box that says "Custom". Click on Custom, and select Fisheye.

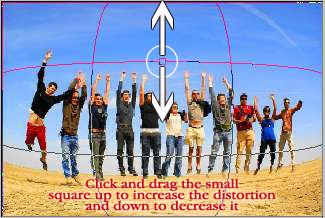
5. Adjust how intense you want the effect to be by dragging the small square on your image up or down. And you're done!

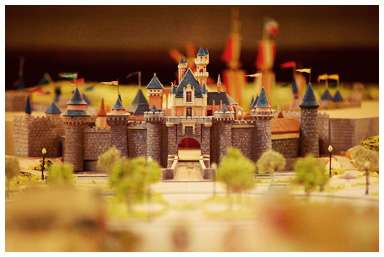
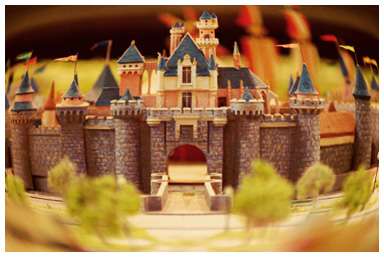
With the right image, this effect can really create a kick-ass photo. So, use your imagination. I'm sure most of you are a lot more creative than me. Okay, let me give one more example before signing off.


2 comments:
Thanks much for the post. I'll be trying that out right away.
Mmmm, I'll use it... Thanks!!!
Post a Comment